There are different methods of creating a backup of your data, but this tutorial will only focus on one possibility, using a freeware tool called Cobian Backup. Cobian Backup uses a simplified approach to backing up and restoring your data consisting of backup folders, optionally compressed archives, and restoring your files through standard Windows file manipulation methods. Furthermore, Cobian Backup utilizes Windows Shadow Volume Copies to backup your data so that even files that are currently open will be able to be backed up from the last saved state.
Installation of the backup software
The first step is to download the software from the author's page.Once the setup file is downloaded you need to double-click it to start the setup process.
- On the first window you will be asked what language you want the tool to be installed
- Next you will be shown a window containing the License Agreement. You need to accept the agreement by putting a check mark in the box next to I accept the conditions.Click the Next button to proceed
- The next window will prompt you for the path where Cobian Backup should be installed. It should be preset to C:\Program Files\Cobian Backup 8. Click on the Next button.
- The program will now install and when it has completed click on the Done button to finish the installation.
At this point you have successfully installed Cobian Backup and should see the  icon in your Windows taskbar. Now that the program has been installed, lets move on to learning how to use it.
To open Cobian Backup, right-click on the icon located on your taskbar and select the Open option. This will open the main screen for Cobian Backup
To create a new backup, we need to create a new backup task that will allow us to configure what files are being backed up and various configuration settings. To create a new backup task, please click on the  icon that appears on the main ribbon bar of the program.
The first step is to give your backup an easily identifiable name and enter it in the Task name field as shown in the image above. There is no right way in naming such files. Just use what best suits your needs and what is easiest to remember. You should leave all the other options on that page the same except the Backup Type. Before we create a backup we need to specify how we want these files backed up.
Before we select the files we wish to backup, we first want to change a setting in the Archive options screen. Please click on the Archive option in the left hand menu of the New Task
In this menu we can select whether or not we want to use compression when creating backups. It is strongly recommended that you enable ZIP compression for your backups. Though this will increase the amount of time that a backup takes to finish, it will also save you a great deal of hard drive space. You should also select the option labeled Compress individually, which will compress each file individual rather than making one large compressed backup. This makes it easier to restore individual files as needed.
From this screen it is also possible to password protect all of the compressed files so that you are unable to extract the files without entering a password. If you wish to use this option, please select AES 256 under the Encryption method drop down menu and then enter your decryption password.
Once you have configured your archive settings, please click on the Files section of the New Task dialog. This will open a screen where you can select the directories and files you wish to backup and the folder that you will store the backups
click on the Add button in the Source category to select the files and folders you wish to backup. When you click on the Add button you will be presented with different choices where you can select files from. These are explained below.
Source Type
|
Description
|
| Files | This will allow you to select individual files that you would like to backup. |
| Directory | This will allow you to select directories that you would like to backup. If you add a directory as your source then all files and subdirectories underneath that directory will be backed up. |
| FTP Site | This will allow you to backup files stored on a remote FTP site. If you select this option you will need to enter your FTP site login information in order for the program to access the files. |
| Manually | This will allow you to type out the path to the files or directories you would like to backup. |
Once you have selected all the files and folders you wish to backup, please click on the Add button for the Destination section to select the folder or FTP site that you wish to store your backups. For most people, you will not use FTP and instead select a folder on your computer to store the backups. A good location to store backups are an external USB drive. When you have finished selecting the files you wish to backup and the location to store the backups, click on the OK button.
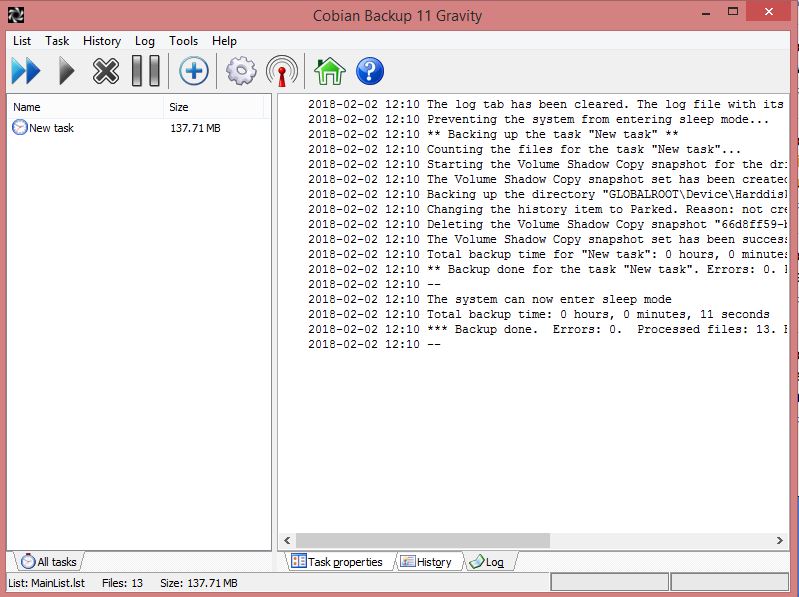
You will now be back at the main screen for the Cobian Backup program and your new task will be listed in the All Tasks section. To start your backup, click on the  button on the button bar to start your Backup Task. When you click on the button a dialog will be shown asking you to confirm if you should run the job. Click on the OK button to start the job.
Your backup will now start, and when completed, the backup will be saved in your chosen backup location. The backups will be in the form of the original folder and filenames with timestamps attached to the file/folder names so that you can differentiate between the different backup dates.
Most backup programs store the backed up data in proprietary file formats that require you to use the same backup program to restore your data. This means that if backup logs are lost or the program is no longer installed you have no way of restoring your data from the backups. Cobian utilizes a simpler method of copying the backed up files to your selected backup folder as a normal file. If you selected to compress your files, then the files will be compressed using archive formats such as ZIP or 7ZIP that are easily extracted using a variety of tools.
To restore a file it is as simple as opening your backup folder in Windows Explorer, selecting the backup that you wish to restore from, and copying the file out of the folder. There is no need to use Cobian to restore your files, but rather you use the built-in file manipulation methods that you normally would in Windows. This approach makes it much easier and faster to find and restore files that you are looking for.
A backup strategy that is commonly used in an office setting is to perform a complete backup once a week and then perform backups of only the changed files for the other days of the week. This allows you to have access to a complete backup for each week while still benefiting from the reduced storage requirements of an incremental backup for the other days. It is highly recommended that home users utilize a similar strategy when setting up their backup tasks.
To utilize this method you would create a task called Weekly Backup and schedule it to run on a particular day of the week at a certain time. This backup would be a Full backup and will backup every file that you have selected. You would then create a second task called Nightly Backup that is schedule to run on the other days of the week at a certain. This task would utilize a Differential backup type so that it only backs up those files that have changed since the last Full backup.
Utilizing this strategy not only provides a great deal of protection for your files but also greatly reduces the amount of storage space required to store your backups.
As you have seen in this tutorial, backing up your data can be done free of charge and with little of your time. Having these backups on hand can save you a lot of trouble and stress when having power problems, infected machines, corrupt hard drives, or just when you need to reinstall the operating system.
Sai Krishna Kalyanapu
Comments
Post a Comment