How to configure offline Domain Join (djoin command)
In this post, we’ll learn the steps to configure offline domain join using djoin command in Windows Server 2012 R2. It can be used to add a Server or workstation in a domain even if we don’t have network connectivity between them.
Why do we need Offline Domain Join (djoin command)?
Offline Domain Join is required in a scenario in which either organization is facing an issue with network between the Domain Controller and the remote site or bulk domain Join is required.
How to use djoin command?
To configure offline domain join we need to run a djoin command on the Domain Controllers and it would create a text file. This text file has all the information about the new member server or workstation that we wanted to add in the Domain. This command will also create a Computer object in Active Directory with the name that we’ll pass in the command prompt.
Once the text file is created successfully, we need to copy the text file to the Server or Workstation which we need to add in the Domain. It’s better to create a share folder on the Domain Controller or any other Member server in the Domain and copy files on them else it can be copied using external drives.
Steps to configure offline Domain Join using DJoin command
We need two servers for this scenario. First is the Domain Controller i.e. SK01 on which we’ll run the DJoin command and another is a member server i.e. SK04, the server or workstation that we wanted to add to the Domain.
Step 1:
On the Domain Controller i.e. SK01 we can see two computer accounts created i.e. SK02 and SK03. As of now we only have these two Servers in our Domain.
Step 2:
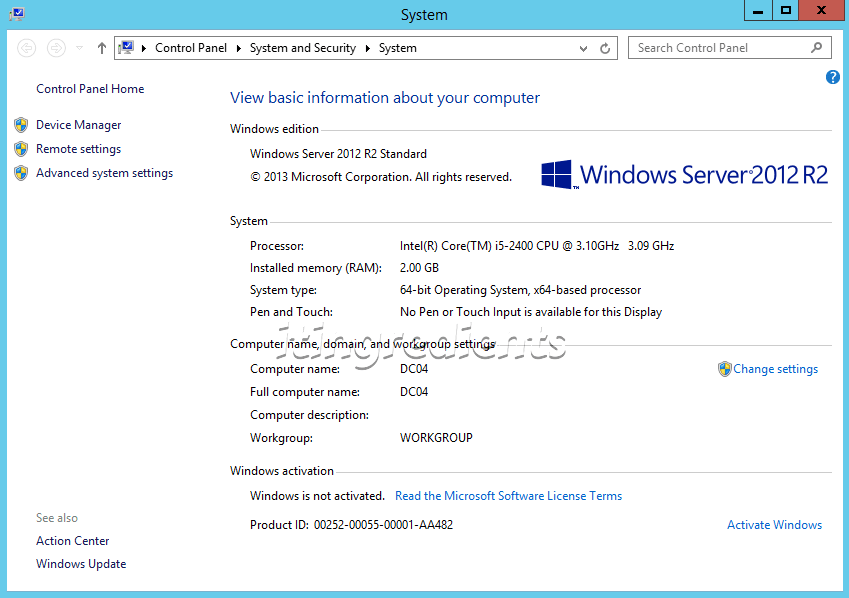
In this practical, we’ll add SK04 to saikrishna.com domain, currently this server is part of Workgroup
In this practical, we’ll add SK04 to saikrishna.com domain, currently this server is part of Workgroup
Step 3:
To configure offline Domain Join for SK04, go to Domain Controller i.e. SK01 and run the following DJoin Command.
To configure offline Domain Join for SK04, go to Domain Controller i.e. SK01 and run the following DJoin Command.
DJoin /Provision /Domain saikrishna.com /Machine SK04 /SaveFile C:\SK04.txt
This command would create new computer account named as SK04 in the default Computers OU in domain saikrishna.com. Provisioning data would be encrypted and saved in the file c:\SK04.txt.
This information will be encrypted and saved in SK04.txt file
Step 4:
Once the command is completed successfully move the file C:\SK04.txt to SK04 Server. We have already moved the file to C: drive of SK04.
On SK04 run the following command.
On SK04 run the following command.
DJoin /RequestODJ /LoadFile C:\SK04.txt /WindowsPath %windir% /LocalOS
This command would load the provisioning data from the file that we already copied to this server and perform offline domain join.
Please ensure that you reboot the Server for changes to be applied.
Please ensure that you reboot the Server for changes to be applied.
Step 5:
After reboot is completed, we tried to login with the domain user and it worked successfully.
Moreover we checked the system settings and it shows that SK04 is successfully joined domain saikrishna.com
After reboot is completed, we tried to login with the domain user and it worked successfully.
Moreover we checked the system settings and it shows that SK04 is successfully joined domain saikrishna.com
Hope you understood the steps to configure offline Domain join using djoin. Please feel free to leave your comments and suggestions in the comment section
-SAI KRISHNA KALYANAPU
Comments
Post a Comment